
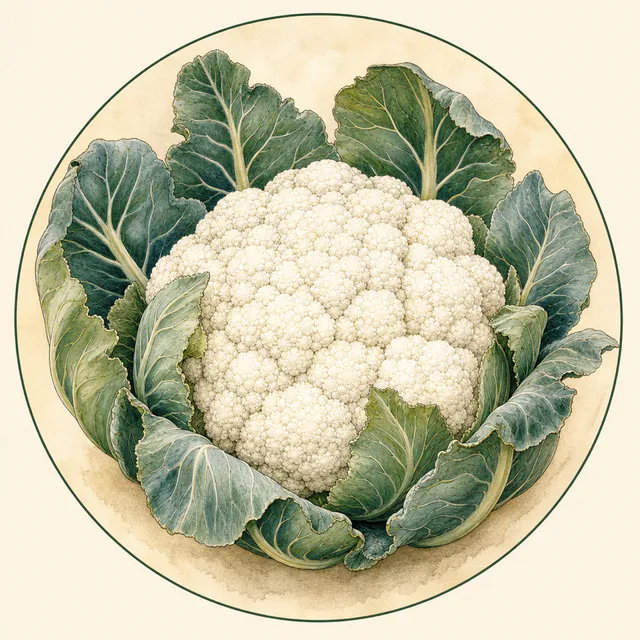
‘Clapton’ AGM
An autumn cultivar resistant to club root, producing large, well-flavoured white heads.
The crop growing guide
This Allotment Pro editorial draft summarises the cited RHS guide. Check the source and adjust timings for local conditions.Read the original RHS source
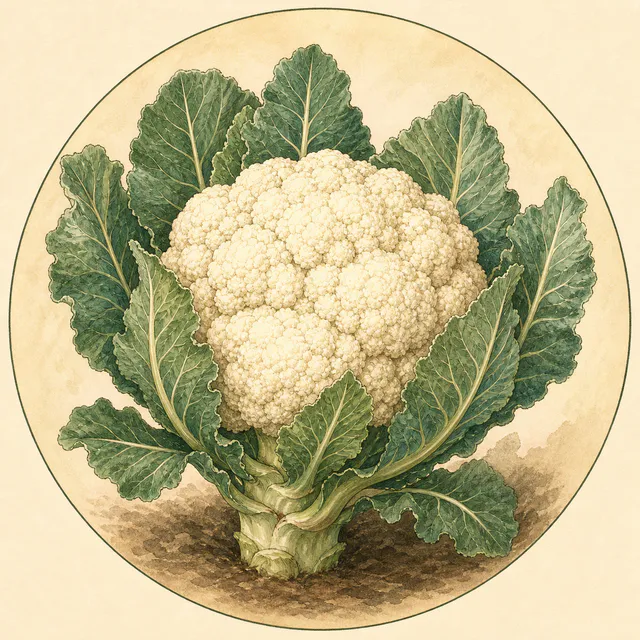
Your season at a glance
Indoors
Module Sow — Start early-summer cultivars in controlled conditions for the earliest harvests
Indoors or Outdoors
Sow — Raise summer and autumn types in modules or begin outdoor seedbeds from mid-spring
Indoors or Outdoors
Sow — Start slower winter and spring cultivars for overwintering crops
Outdoors
Transplant — Move hardened plants to their final positions at the spacing required by their season and size
Outdoors
Cut — Cultivar and sowing date determine whether firm curds mature in summer, autumn, winter or spring
Cauliflowers are large-leaved brassicas grown for the single central curd, a tightly packed cluster of immature flower buds. Traditional heads are white, but purple, orange and green romanesco cultivars expand the choice, while compact mini cauliflowers suit small plots and containers.
Success depends on preventing checks in growth. Plants need sun, fertile and well-firmed moisture-retentive soil, and a consistent water supply. Hot or dry weather can trigger bolting or small, deformed heads. Summer and mini cultivars mature more quickly and meet fewer difficult conditions, making them useful for new growers.
Seeds are normally started indoors and plants moved outside after about six weeks, although outdoor seedbeds are also possible. As brassicas, cauliflowers belong in the same crop-rotation group as cabbages and are attractive to pigeons and several insects, so fine insect-proof mesh is valuable from planting onward.
Cultivars are traditionally grouped by harvest season, although modern sowing and cropping periods increasingly overlap. Early-summer types are sown indoors in winter and planted beneath cloches in spring. Summer and autumn types are sown from early spring indoors or from mid- to late spring outside, then harvested from late July into October or sometimes November before frost.
Winter and spring cauliflowers are slower and hardier. Sow them from late spring to early summer and allow six months or more to maturity. Their heads can reach 30cm (1ft) wide, so plants require wide spacing and occupy the bed for a long period, but modern cultivars may crop into spring or early summer.
Mini cauliflowers mature in as little as three months and are harvested at tennis-ball size. Close spacing keeps them compact, and they can grow in containers. Coloured summer and autumn varieties include orange and purple curds, while romanesco types form lime-green heads of pointed florets.
An autumn cultivar resistant to club root, producing large, well-flavoured white heads.
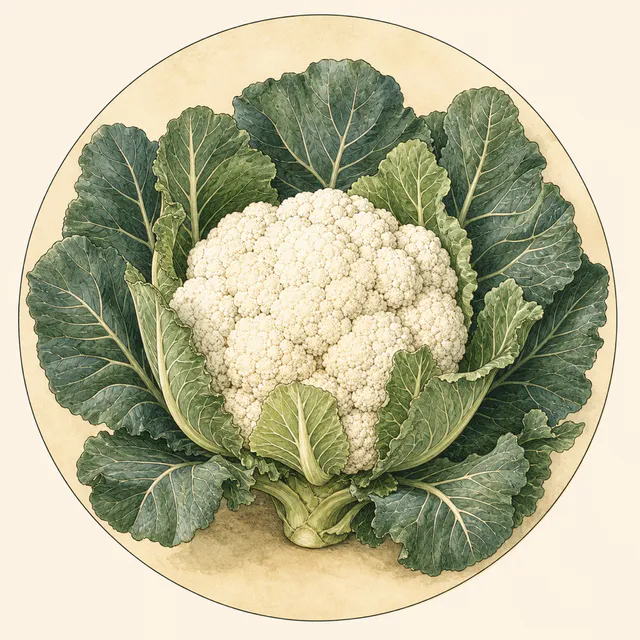
An autumn and winter cultivar with a white head protected from early frost by strong surrounding foliage.
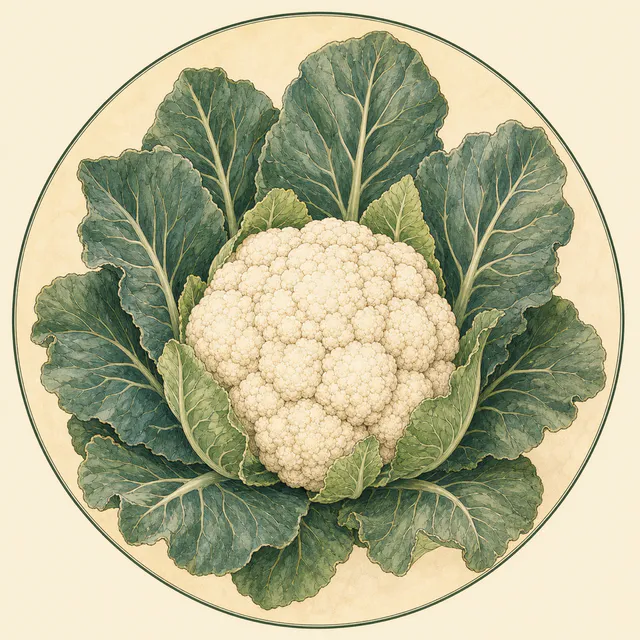
A summer and autumn cultivar that performs under stressful conditions and resists pink discolouration.
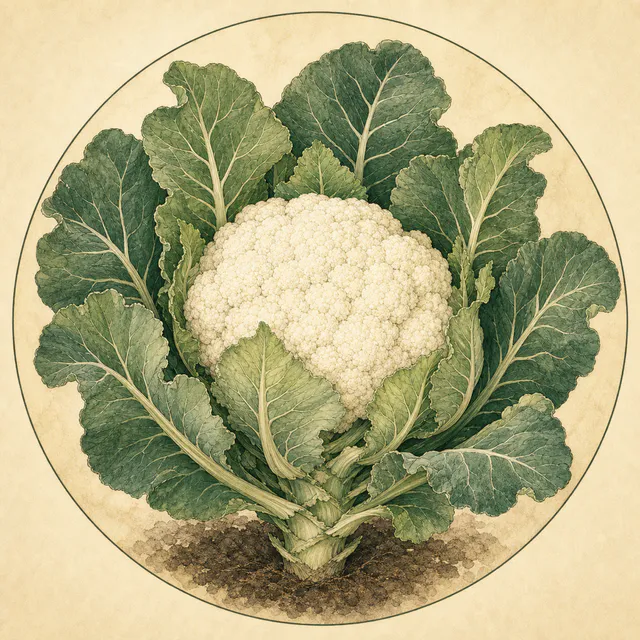
A cold-tolerant spring cultivar producing high-quality white heads in early spring.
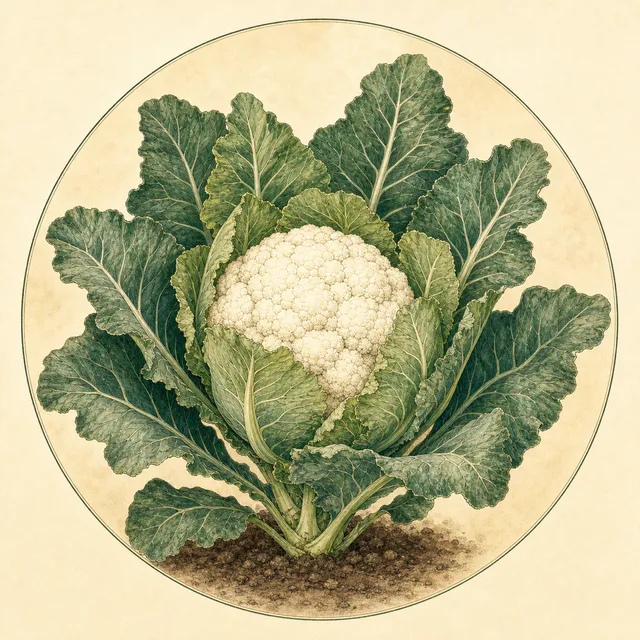
A winter cultivar with white curds, often cut around Christmas but able to stand into January.
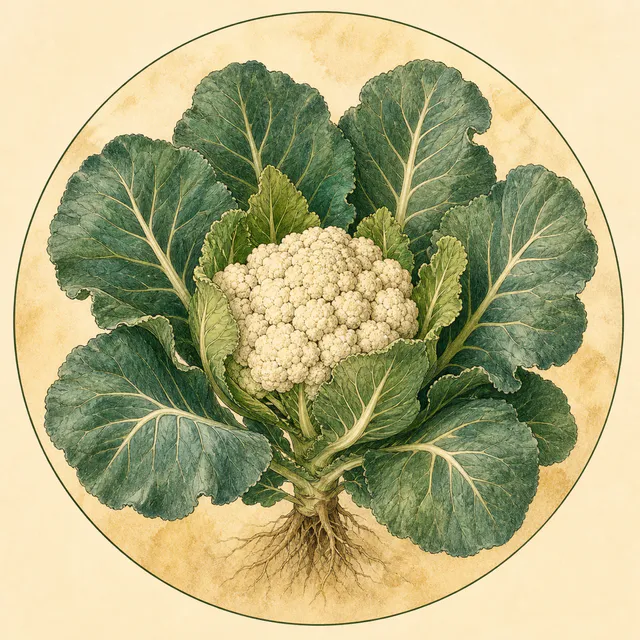
A fast summer cultivar well suited to close-spaced mini cauliflowers and container growing.
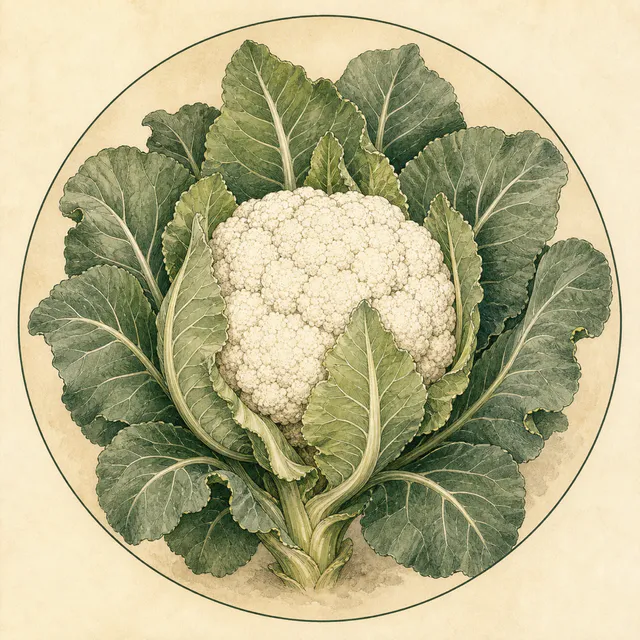
An upright summer and autumn cultivar whose curd remains white for a long period.
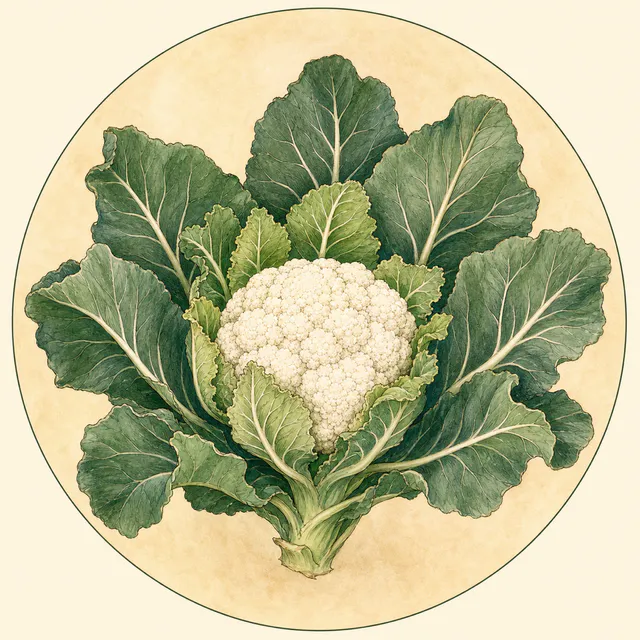
An early-summer cultivar that can also be sown for later harvests, particularly as a mini cauliflower.
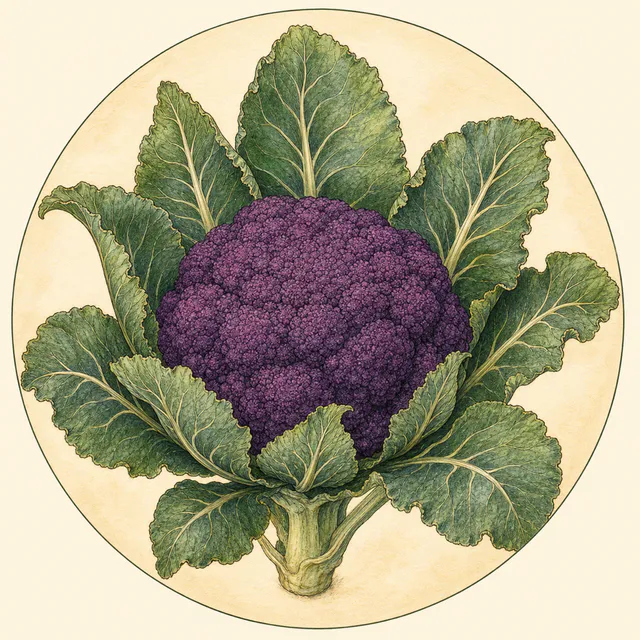
A summer and autumn cultivar with a striking purple curd that deepens in colour with greater sun exposure.
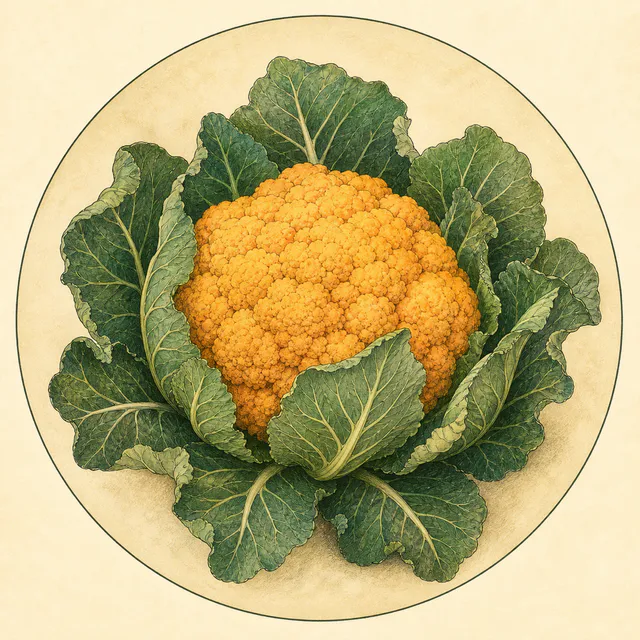
A compact summer and autumn cultivar forming golden-yellow to orange curds.
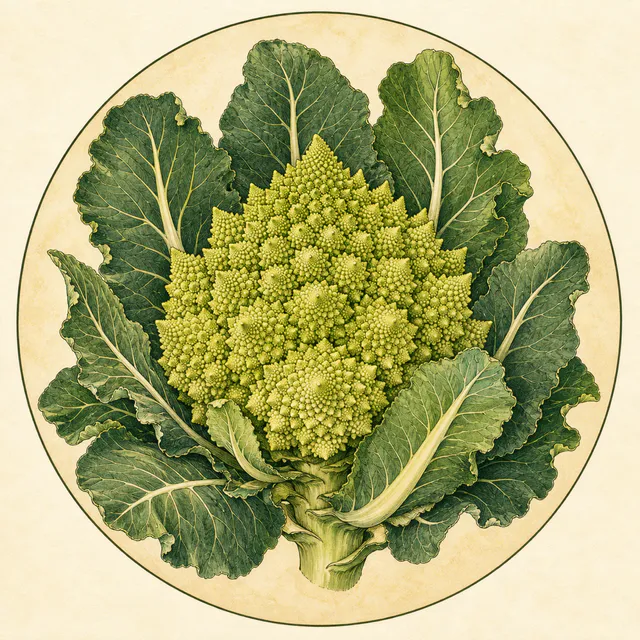
A mild, sweet romanesco cultivar for summer and autumn, with lime-green peaked florets. ## 3 - Preparing The Ground Choose a sunny site with deep, fertile soil that remains moist but drains freely. Rotate the crop so no cauliflower or other brassica has occupied the bed for at least two years.
Choose a sunny site with deep, fertile soil that remains moist but drains freely. Rotate the crop so no cauliflower or other brassica has occupied the bed for at least two years.
Ideally in the preceding autumn, incorporate two bucketfuls of well-rotted manure or garden compost per square metre (or square yard). Advance preparation lets the ground settle, as cauliflower roots perform best in firm soil. If organic matter is added nearer planting, firm the surface by shuffling across it, remove weeds and rake to a fine texture. For no-dig beds, mulch ahead of sowing or planting.
Cauliflowers grow well at about pH 6.5. Test acidic soil and, where needed, apply lime in the previous winter to raise its pH and make club root less favourable.
The main sowing period is March to May, with January or February indoor sowings—and sometimes an autumn sowing—used for early crops. Sow several small batches roughly three weeks apart because plants often mature together and cut heads do not store for long.
Sow individual seeds in modules of damp peat-free seed compost at 1.5cm (¾in) deep. Keep them at 12–22°C (54–72°F). Germination normally takes about two weeks. Provide good light, warmth and regular water; seedlings are ready to go outside in about six weeks when roots fill their modules.
Sow early-summer types in mid- to late winter, summer and autumn types in spring, and winter or spring cultivars from late spring to early summer.
Use a seedbed or sow at final spacing. Draw a 1.5cm (¾in) drill and water its base if dry. In a seedbed, sow or thin seedlings to 10–15cm (4–6in) apart, with rows at least 15cm (6in) apart. Move plants after about six weeks when roughly 10cm (4in) tall.
At final positions, sow three seeds every 45–70cm (18–28in), according to cultivar, or every 15cm (6in) for mini cauliflowers. Thin each cluster to one plant and keep rows 60–70cm (24–28in) apart.
Plant out seedbed, module-raised or bought plugs when they are about six weeks old and 10–15cm (4–6in) tall. Harden indoor plants before the move. Water first, disturb the roots as little as possible, and set each plant deeper than before with its lowest leaves level with the soil. Firm and water thoroughly.
Space summer and autumn cultivars 45–60cm (18–24in) apart with 60cm (24in) rows. Give winter and spring types 70cm (28in) in both directions. Plant minis just 15cm (6in) apart each way to restrict their final size.
Plant up to four mini cauliflowers in one deep container 40cm (16in) in diameter, filled with peat-free multi-purpose compost. Set them deeply, water well and keep the pot in a bright sheltered place. Do not allow the compost to dry, particularly in summer.
Steady moisture is essential while plants establish and while curds form. Dry soil can halt growth and result in malformed heads, but roots should not be waterlogged.
Water seedlings and young plants regularly until they have deep roots, then keep soil consistently damp during head formation. Apply a thick mulch of well-rotted manure or compost to retain moisture and suppress weeds, leaving a small clear gap around each stem. Feeding is usually unnecessary, but poor soil may justify an organic nitrogen-rich fertiliser before heads begin to form.
Fold leaves over white curds to prevent hot sun turning them yellow. In winter, bunch and tie leaves over heads and add fleece where hard frost threatens. Protect young spring plants with cloches or biodegradable fleece because cold can trigger premature flowering. Maintain insect-proof mesh against birds and brassica pests, and keep young plants free of weeds and slug shelter.
Depending on cultivar, size and weather, cauliflowers usually mature three to six months after sowing and may be harvested at any time of year. Cut as soon as the curd is sufficiently large but still firm and compact. Once florets begin to separate, flavour becomes bitter; white heads should also be cut before yellowing.
Mini cauliflowers are ready at tennis-ball size. To spread a row’s harvest, begin cutting before every head reaches maximum size. Use a sharp knife below the head and retain several surrounding leaves to protect the curd. Fresh heads keep for several days in a refrigerator with leaves attached; florets may also be blanched and frozen.
Button heads, deformed curds and bolting follow checks caused by late transplanting, disturbed roots, loose soil, irregular water, spring cold or summer heat. Sun and frost may discolour heads, so fold and secure leaves over developing curds.
This soil-borne disease swells and distorts brassica roots, causing poor growth and wilting. Rotate crops, improve drainage and lime acidic ground when testing supports it.
Problem sourceMoth and butterfly caterpillars eat cauliflower leaves. Fine mesh prevents egg-laying; inspect uncovered plants and remove caterpillars promptly.
Problem sourceRoot-fly larvae feed below ground and can kill young plants. Fit a close physical barrier around stems to prevent adult flies laying eggs beside the crop.
Problem sourceSmall white-winged insects gather beneath brassica leaves. Light populations are often tolerated, but inspect plants and keep heads clean.
Problem sourceSmall beetles create many tiny holes in seedlings and young leaves. Protect plants with fine mesh and keep them growing steadily.
Problem sourceWaxy grey-green aphids cluster on foliage and can distort growth or contaminate curds. Check leaf undersides and developing heads regularly.
Problem sourceThis foliar disease causes pale raised pustules and may weaken plants. Remove badly affected leaves and maintain air movement around the crop.
Problem sourcePigeons tear brassica foliage, sometimes leaving only stalks and large veins. Secure netting or mesh over the plants throughout vulnerable periods.
Problem sourceSlugs and snails attack seedlings and tender leaves, especially in damp, weedy beds. Protect new plants and remove daytime hiding places. Source: Royal Horticultural Society. Structured as an Allotment Pro editorial draft for review; source facts and links remain attributable to the publisher.
Problem source